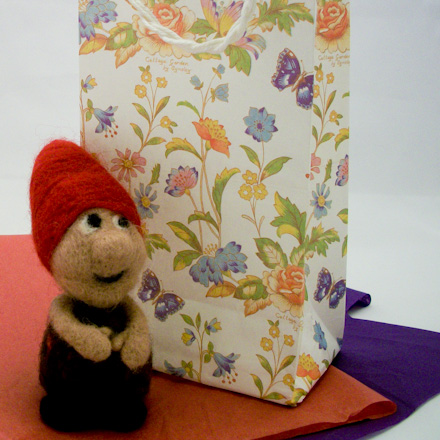
In this project, you will see how easy it is to make reusable gift bags from wrapping paper. With this simple technique, bags can be fashioned in just the right size for your gift. You will simply use a stack of books or boxes as a form for the bag's base. Wrap one end of the form like a box, and remove the form to reveal your bag!
This is the first in a series of craft projects on gift-wrapping that focuses on making your own boxes and bags in a variety of shapes and sizes.
Related craft: To see how to add a sturdy twine handle to the top of a gift bag, checkout the Halloween Trick or Treat Bags craft project.
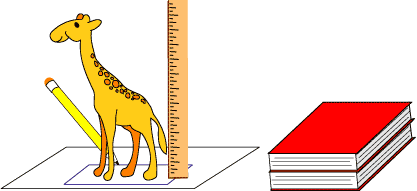
Look at the gift you want to wrap and estimate the size of the bag you will need. You can do this by drawing a rectangle around the gift on a piece of scrap paper and then measuring the gift's height. Stack books until the side of the book stack is the size of the rectangle you drew or larger. You may need to make two or more stacks of books side-by-side if your gift is large.
This stack of books will be used as a form to create the bag. You can also use a box or a stack of boxes as a form.
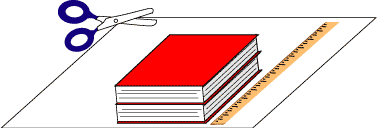
Cut a sheet of wrapping paper to use in making the bag. In one direction, the paper should be the desired height of the bag plus 3/4 of the bag's depth, plus 1 inch extra (2 cm). In other words, the paper measurements should be the height of the bag plus enough paper to fold over the end of the stack of books, plus 1 inch. In the other direction, the paper should wrap around the stack of books, with 1/2 inch extra (1 cm) for overlap.

Place the wrapping paper right side down. Fold back 1 inch (2 cm) along the top edge, crease, and glue in place.

With the wrapping paper right side down, place the stack of books in the center of the paper near the bottom edge. Be sure that the stack sits above the bottom edge by about 3/4 of the stack's height.
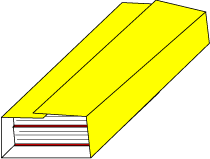
Wrap the paper around the stack and secure the seam with glue or tape. Be sure that the top edge meets evenly at the seam.
Be careful not to wrap too tightly, or it will be difficult to remove the stack of books from the bag.
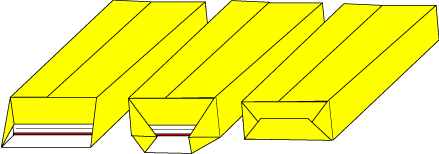
Make the bag's base by folding the paper over one end of the stack of books like you are wrapping a box. Run your fingers down each edge of the stack to crease the bag's corners. Remove the stack of books from the bag.
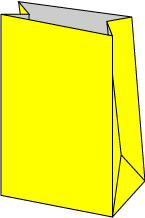
To make gusseted (pleated) sides on the bag, pinch the sides of the bag together and crease down the middle of the side. Do this on both sides of the bag.
You may also fold the bottom of the bag up and crease it flat—like a grocery bag. This will allow the bag to be stored flat.

Patterns are Adobe PDF files. The Adobe Reader is available for free.
All of Aunt Annie's Crafts project patterns are designed to be printed on standard letter-size paper (8.5"x11" or A4). When printing from Adobe Reader, you may need to select Auto-Rotate and Center or Choose paper source by PDF page size to ensure the best fit.