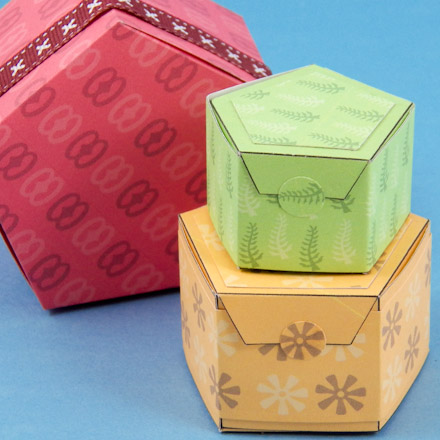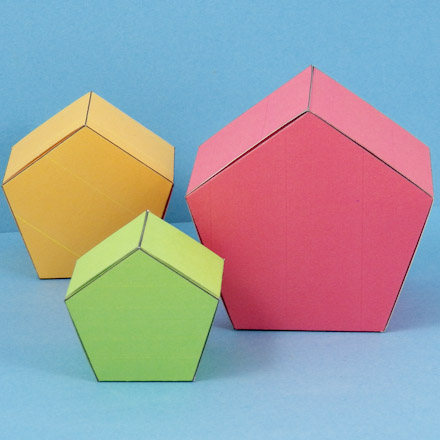
In this project, you will make five-sided boxes with pentagon-shaped top and bottom lids. The printable patterns are in various sizes with colored and black-and-white versions. The boxes nest together for storage, and can be used individually, or stacked. Use them as gift boxes, party favors, or for storing jewelry and other trinkets. There are also bonus patterns for making tall, narrow pentagon boxes and a Christmas box with jingle bells.
Make these cardstock boxes stronger by adhering decorative paper to the back of the printed cardstock pattern. You can further increase a box's durability by coating it with an acrylic varnish.
Related craft: To make another style of pentagonal box, see the Pentagon Box craft project.
Christmas extra: The Christmas "Jingle Bells" box coordinates with the Little Gift Boxes and the Christmas Pop-Up Cards.
Choose a box to make. Download and print the pattern. The single box patterns make 3" boxes and the patterns with two boxes result in 2" and 1 5/8" boxes. The bonus patterns make into tall, narrow boxes that are 2" by 5 3/8" tall.
Patterns are Adobe PDF files. The Adobe Reader is available for free.
All of Aunt Annie's project patterns are designed to be printed on standard letter-size paper (8.5"x11" or A4). When printing from Adobe Reader, you may need to select Auto-Rotate and Center or Choose paper source by PDF page size to ensure the best fit.
Cut out the box pattern on the solid black lines. Try to make the cuts very straight. The box will be stronger and fit together better if the cuts are straight.
Using a straight edge and craft knife will make some of the cutting easier, but be sure to protect the table with a cutting mat or thick piece of cardboard. Caution: Be careful. Craft knives are sharp and should not be used by children.
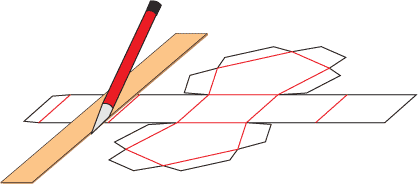
Turn the box pattern with the marked lines up. Score along each of the fold lines—red in this illustration.
To score: On cardstock, use the bone folder or empty ballpoint pen to make an indent—not a cut.
Fold lids and lid flaps on the fold lines. Flatten the box out again.

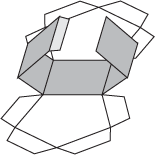
Fold the glue tab on the black line, then flatten it. Fold each side on the black line, then flatten it.

Cut a rectangular piece of decorative paper larger than the box pattern piece by ¼" to ½" all around. Center and glue to what will be the outside of the box. Fold the excess paper over and glue, or just trim away.
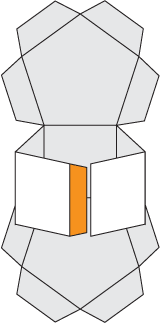
Apply glue down the entire length of the glue tab. Shape the sides into a pentagonal shape and glue the tab to the inside of the last side.
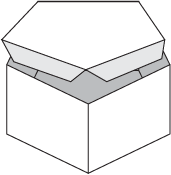
To finish the box, fold the bottom flaps in and tuck them in as you close the bottom lid. Repeat for the top lid.
Decorate the box any way you like. Adding cutouts works well; or enhance a plain box by gluing craft ribbon or paper ribbon cut from decorative paper in a band around the sides, or by lining the inside of the box.
Your box is now complete!
