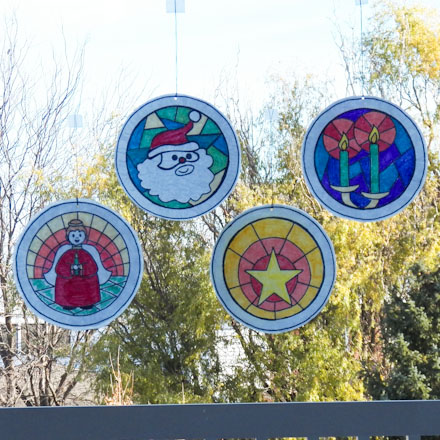
Make stained glass-like medallions that can be used to decorate windows or hung as ornaments on the Christmas tree. This is a great family craft that the kids color and the adults assemble. Best of all, these large and colorful circular hangings can be used year after year to bring festive joy to your home! Just a few simple materials are needed to complete this project.
Related craft: Melted crayon shavings are used to make Stained Glass Leaves.
Choose the medallions you want to make. Download and print the pattern. Print black & white patterns for tracing onto tissue paper. The colored patterns can be printed and waxed to make sturdy, translucent window hangings—see How to Wax Paper. You can also use the smaller, card-size medallions to make smaller ornaments or decorate greeting cards.
Patterns are Adobe PDF files. The Adobe Reader is available for free.
All of Aunt Annie's Crafts project patterns are designed to be printed on standard letter-size paper (8.5"x11" or A4). When printing from Adobe Reader, you may need to select "Auto-Rotate and Center" or "Choose paper source by PDF page size" to ensure the best fit.
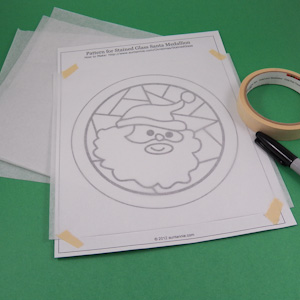
Cut a square of tissue paper as least 1" larger than the medallion pattern on all sides. Lay the tissue paper over the pattern and tape all four corners down with small pieces of masking tape.
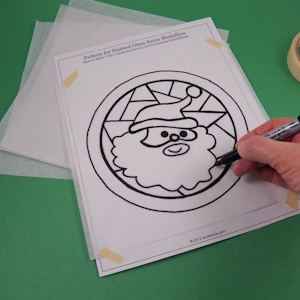
Trace over all the medallion's lines with a black felt-tip marker. Make the lines thick! (A black crayon can be used, but the lines won't be as sharp.) Allow the marker lines to dry completely.
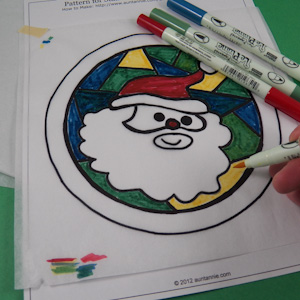
Color the medallion with any colors you like, filling in all the spaces outlined with black lines. Markers will give the most vibrant colors, but crayons work fine, too.
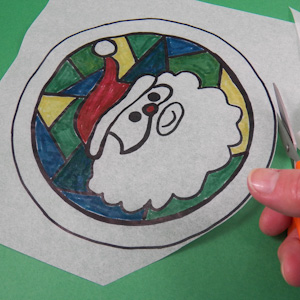
Remove the tape from the corners of the tissue paper. Don't worry if the tissue paper tears a bit.
Trim the tissue paper to the outer circle or leave a small margin of white tissue paper. Make very neat and smooth cuts.
Cut two pieces of wax paper that are about ½" larger than the tissue paper medallion on all sides.
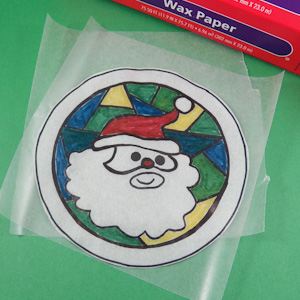
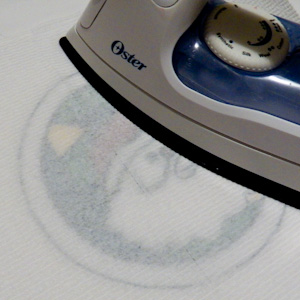
Set up the ironing board and iron, and heat the iron on the low setting. Get two paper towels, and place one paper towel on the ironing board. Lay one piece of waxed paper on top of the paper towel, waxed side up. Lay the tissue paper centered on top of the wax paper, and lay the other piece of wax paper on top, waxed side down. Top off the stack with another paper towel.
Iron on top of the paper towel, melting the two sheets of waxed paper together.
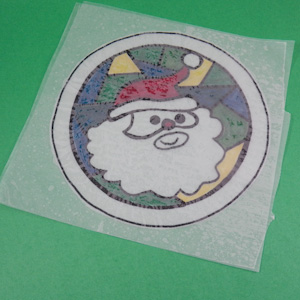
Tip: Not all wax paper melts well, so be sure to test yours, especially before doing this project with a group.
Tip: Check which is the waxier side of your wax paper by scraping each side with your fingernail. Always iron two waxier sides together.
Tip: If the wax paper and tissue paper want to come apart at the edges, use a glue stick around the edge to secure them.
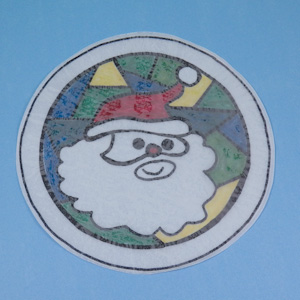
Trim the wax paper down to either a circle or a square, being sure to leave at least a ¼" margin all around the medallion.
You can use the medallions as is, or frame them with paper. To frame them, cut two identically sized pieces of paper with a circle cut from the middle—pick from the round or square frame patterns above. Glue the medallion between the two pieces of paper. Tape the medallions to a window, or thread a string through a punched hole and hang them on the Christmas tree.
That's it! Your stained glass ornaments are done!
