About the tutorials
This is the second set of greeting card tutorials offered by
Aunt Annie's Crafts! These tutorials go beyond the basics and demonstrate
ideas and techniques to further enhance your handmade cards.
Start here
or with the the original
Greeting Card Class tutorials, then browse the
Greeting Card
Ideas crafts for even more cards made using the techniques
presented in the tutorials! And finally, be sure to checkout the
Pop-up
Cards!
The projects range in difficulty from VERY EASY to
AVERAGE
Browse down this page for descriptions and illustrations of the
tutorials, then select a tutorial and have
some crafting fun! Or jump to the category index for a listing of all crafts.
Description ↓
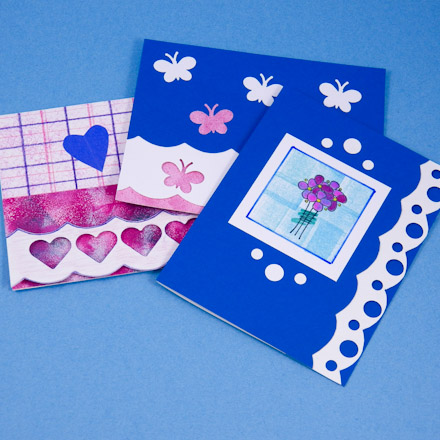
In this greeting card tutorial learn how to make a fancy edge on your
handmade greeting cards using scallops and a paper punch. This is a
quick and easy way to add a strong design element along the right-side
or bottom edges of your card.
EASY
Description ↓
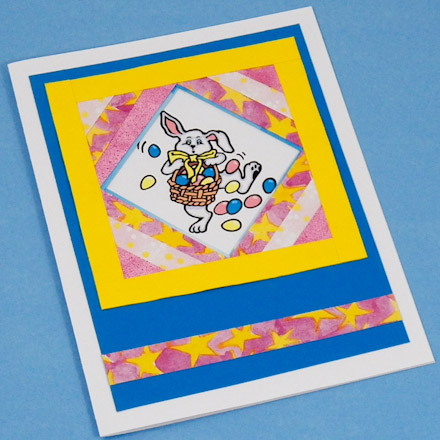
In this greeting card tutorial, learn how
to use folded paper strips to give your card added depth with
three-dimensional layers. This card making technique is a great way
to enhance a small image or photo and to use decorative paper
leftovers.
AVERAGE
Description ↓
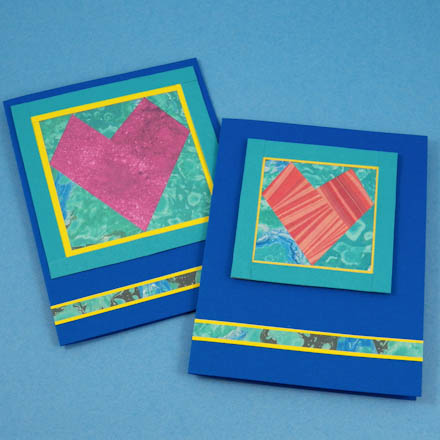
In this greeting card tutorial, make a card for Mother's Day or your
sweetheart that features a framed heart motif while learning how to use a
strip folding template. Once you learn this technique using the heart
template, additional motifs can be made using other templates.
AVERAGE
Description ↓
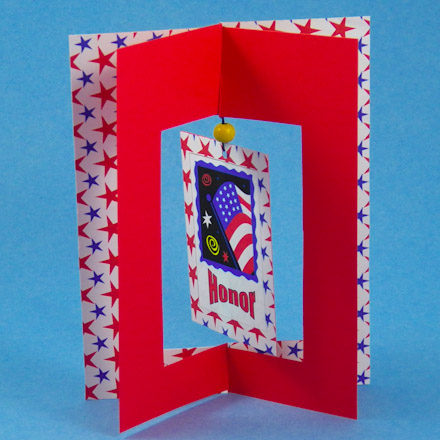
Go beyond the ordinary with this novelty card featuring a dangle
that twists and turns. See how easy it is to make this freestanding
greeting card with a 3-dimensional opening for hanging your special
dangle.
AVERAGE
Description ↓
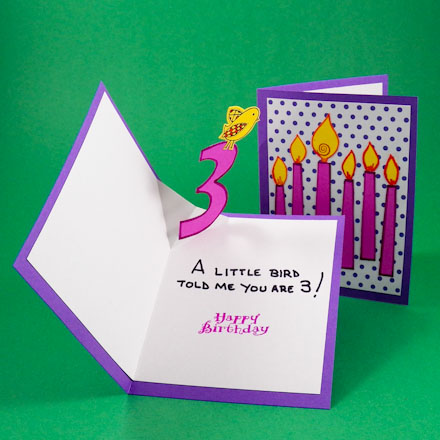
Make a birthday card that features the child's (or adult's) age as a pop-up.
There's something almost magical about pop-ups that delights both
children and adults. After you make this card, you will be able to
add a similar V-fold pop-up to any greeting card.
AVERAGE
Description ↓
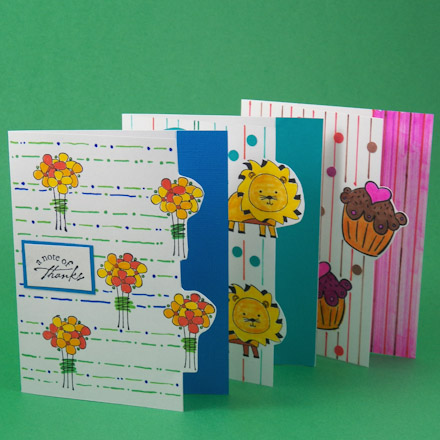
Special edge treatments are one of the things that can set your
homemade card apart from a store-bought card. This greeting card tutorial
shows how to add a cutout edge detail to your rubber stamped cards.
Also, see how to draw a background
using felt-tip markers.
EASY
Description ↓
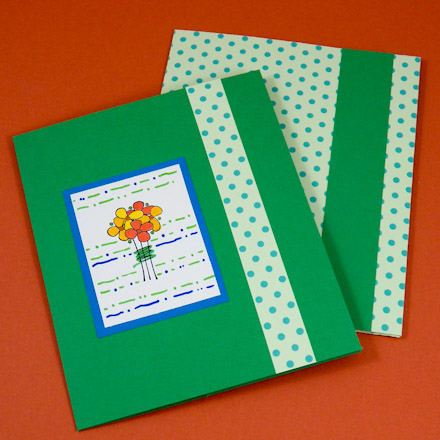
This simple folder is perfect for storing your handmade cards, and
with multiple folders, you can arrange the cards by theme or occasion.
When selling or giving your cards as a set, make a folder to match
your handmade cards.
EASY
Description ↓
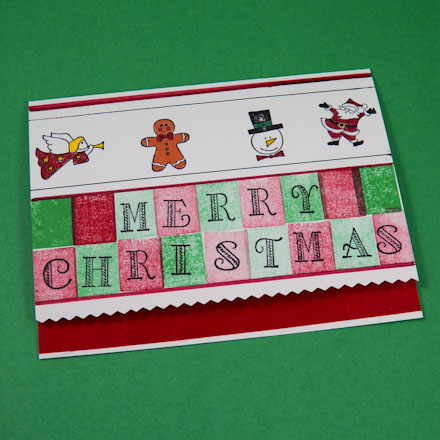
'Tis the season for ribbons! Take your homemade Christmas cards up a
notch by adding a ribbon edge. In this tutorial you'll learn how to
create a decorative cut edge that is enhanced with a ribbon backing.
You'll also learn how to make a stamp from an eraser and use it make
plain and checkered backgrounds.
EASY
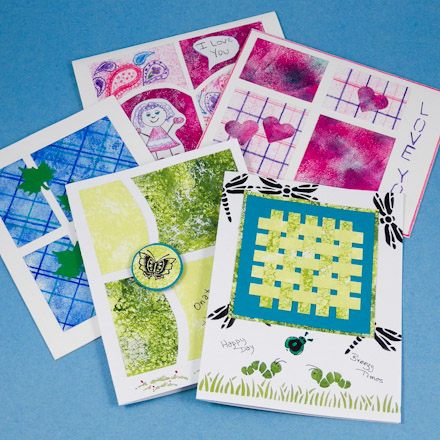
Description ↓
See how easy it is to create custom decorative papers for use in
your card making. The beauty of sponging is the limitless range of
color possibilities—make whatever color paper you desire! Make the
springtime sample cards or come up with your own design.
EASY
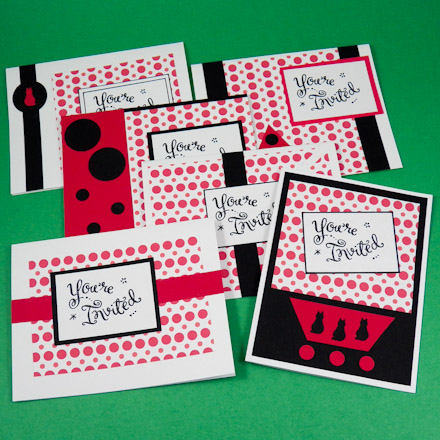
Description ↓
Make a set of six invitations from a single sheet of letter-size,
patterned paper! In
about the same amount of time that it would take you to make a batch
of identical invitations, you can create unique invitations
to send to each of your guests!
EASY
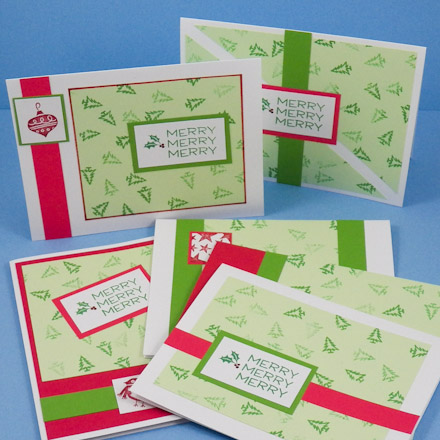
Description ↓
Make handmade Christmas cards to send to family and friends in a
flash! Just stamp up a sheet of cardstock and cut it into to six
pieces. Add some red and green paper and Christmas-themed
rubber stamps to make six totally unique Christmas cards!
EASY
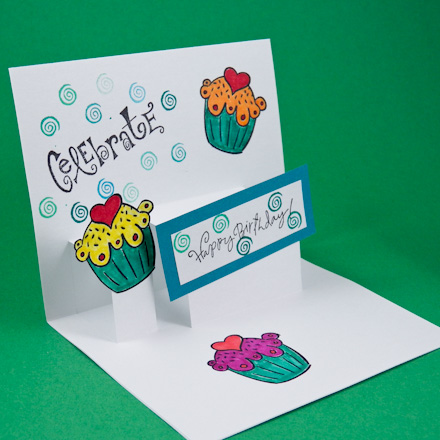
Description ↓
Make a pop-up greeting card for a
variety of occasions. See how easy it is to make a step pop-up
mechanism, also sometimes called a platform or double-slit pop-up. Once
you learn this technique, it's a simple matter to create pop-up cards of
your own design.
AVERAGE
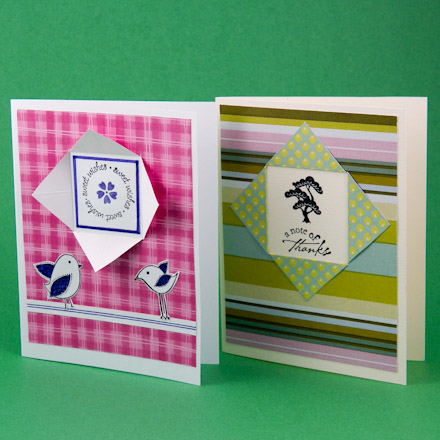
Description ↓
See how quick and easy it is to make a
window card with double-sided paper or cardstock. Just cut, fold and
glue and then decorate with stamps and cutouts. Since the two sides of
double-sided paper are meant to go together, you'll always get a color
coordinated card!
VERY EASY
Keep up with Aunt Annie's Crafts on Facebook
,
Twitter
,
Tumblr
,
RSS feed
or
with our newsletter
.