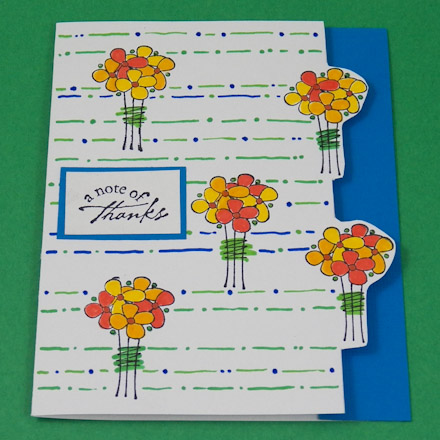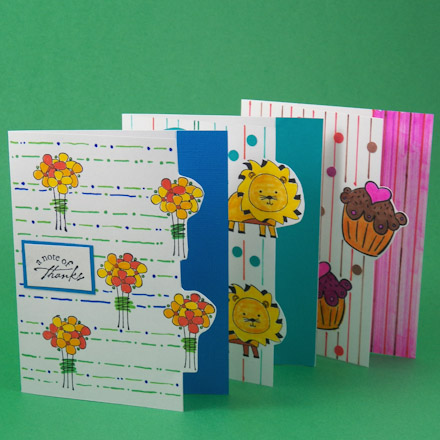
Special edge treatments are one of the things that can set your homemade card apart from a store-bought card. This greeting card tutorial shows how to add a cutout edge detail to your rubber-stamped cards. You'll also see how to quickly draw a background on a plain white card using felt-tip markers.
Project extras: Make a card for Father's Day using printable strips of solid colors that coordinate with printable digital papers. You can also make gift tags with cutout edges using the gift tag patterns below—don't miss the printable Christmas gift tags.
This greeting card tutorial builds on the previous tutorials in the original Greeting Card Class set of tutorials, especially the Repeat Cards tutorial. If you are new to card making, review these tutorials for ideas and basic techniques.
Check out Aunt Annie's Rubber Stamping Tips for ways to get the best possible image from your rubber stamp.
Related craft: For another edge technique, see the Scalloped Edge Cards tutorial.
Refer to Card Class Tutorial #1: Four Patch Cards for how to make card blanks and envelopes.
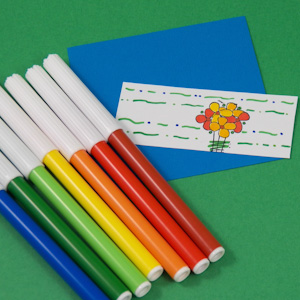
This card's major design elements are stamped images and the cutout edge. The cutout edge is backed by a colored strip of cardstock, 1" by 5½″, that is glued to the card's inside right edge. The rubber stamp creates an outline to which you add color after stamping the image.
Select coordinating colors for the stamped images and the cutout edge's cardstock strip. For the sample card, the complementary colors of blue and orange are the card's major colors. The cardstock edge strip is blue, along with the mat for the card's message. To add interest to the stamped image, the flowers are given analogous colors: yellow, yellow-orange, and orange. The greens of stems and leaves are used as accents and in the background.
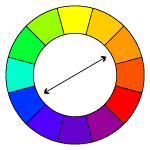 Complementary colors are opposite each other on the color wheel. They
are naturally
high contrast with each other and exude high energy.
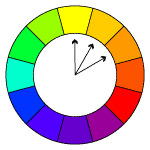 Analogous
colors are near each other on the color wheel, have a cheerful
effect, reflect color schemes found in nature, and create color
harmonies that are pleasing to the eye.
Digital paper extra: Instead of a solid color edge strip, use strips of marbled paper as the cutout edge's background. Download and print Aunt Annie's Marbled Strips digital paper for a variety of marbled designs.
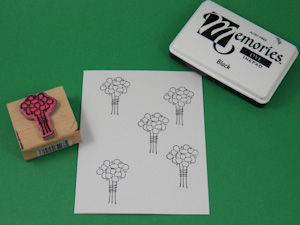
Stamp three to five images of your rubber stamp on the card's front. One or two of these images will be partially cut out for your cutout edge. For these cutouts, stamp near the right edge, about 1/8" to 1/2" from the edge.
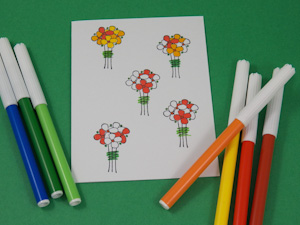
Using the colors you selected, color the stamped images with felt-tip markers.
Tip: For added interest, vary the color arrangements in each stamped image.
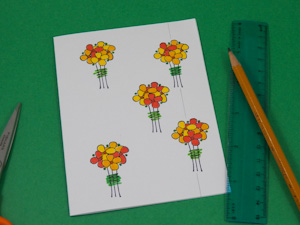
Using a ruler and pencil, draw a faint vertical line about ¾" from the right edge. The line should intersect one or two of your stamped images, but don't draw through the images.
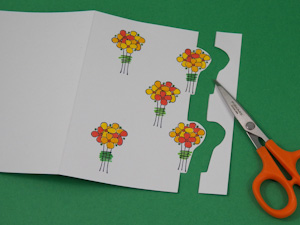 Cut the edge following the faint pencil line and around
the right-side of the stamped images. Leave a tiny margin of
white cardstock around the images.
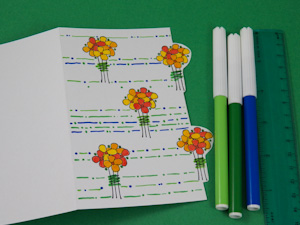
Using felt-tip markers, draw vertical or horizontal lines to make a background for your card. For the sample card, the lines are dots and dashes. A ruler was used to draw dots of blue and green—then dashes, mostly green, were drawn freehand.
Get creative: Use any combination of straight lines, dots, dashes, and squiggles to make the lined background. You can also use a ¼" hole punch to make dots to glue on the card. Keep the background simple and light so you don't overpower your stamped images.
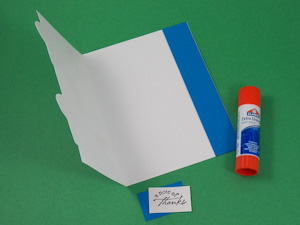
Glue the edge's background cardstock strip to the right edge of the card's inside. Stamp a message on a piece of white cardstock and mat it with the same color of cardstock as the edge strip.
Project extra: Make gift tags with cutout edges using Aunt Annie's Christmas Cutout Edge Gift Tag pattern or Templates for plain cutout edge gift tags. To make the Christmas gift tags: Cut out each 3-section gift tag strip, fold on the black lines, glue the two left sections back-to-back, trim away the light green strip from the tag front to make the cutout edge. Use the Plain DIY Templates to create cutout edge gift tags of your own design using rubber stamps, stickers or die cuts, then follow the steps above for making Cutout Edge cards.
That's it! Your card is ready to
go!
