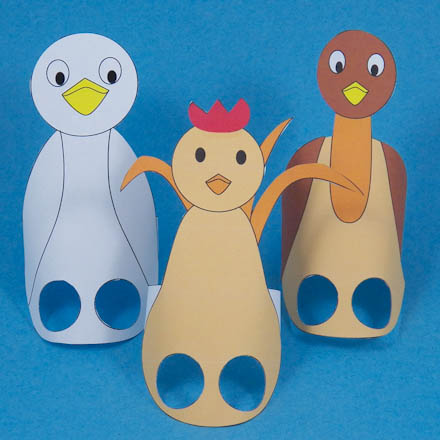
In this project, make bird finger puppets—crow, chicken, emu and peacock, whose legs are animated with your two fingers. There are also bonus patterns for tiger finger puppets. The puppets are very simple—just print, color, cut and glue. They can be made with paper or cardstock.
Each puppet is offered in three sizes suitable for small, medium and large hands. A convenient finger measure is included on the printable patterns to make it easy to determine the size of puppet that will fit best.
This is the sixth in a series of puppet-making projects that includes plays based on folktales from cultures around the world and back in time. An Australian Aboriginal fable is the basis for a play, The Medicine-man, using puppets in this project.
Related craft: For more two-finger puppets, see the Finger Puppet project, and for other puppets with plays based on folktales, see Puppets Around the World.
Choose the puppets that you want to make. You can choose to make the puppets in three different sizes. Each pattern includes a yellow finger measure. Cut it out and wrap it around the base of the puppeteer's middle finger. Select the puppet—size, small , medium or large—that fits best. Also, the finger holes can be cut larger or smaller to accommodate different finger sizes. Tip: Checkout the tiger finger puppets in the Tips section.
Download the pattern and print it on white paper or cardstock.
Patterns are Adobe PDF files. The Adobe Reader is available for free.
All of Aunt Annie's project patterns are designed to be printed on standard letter-size paper (8.5"x11" or A4). When printing from Adobe Reader, you may need to select Auto-Rotate and Center or Choose paper source by PDF page size to ensure the best fit.
If you printed the black & white patterns, color the puppets any colors you like. You might draw rows of short lines to resemble feathers. Use your imagination to make the puppets uniquely yours.
Tip: You might also decorate the puppets with bits of colored paper or glitter, but you may want to wait to decorate the puppet until after you have cut it out.

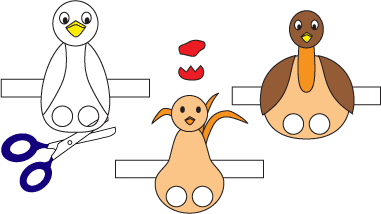
Cut out each puppet on the black outline, including the strips for the loops. Cut out finger holes on each puppet. There are two leg holes on each puppet. Try to cut a very smooth circle. This will be more comfortable for your fingers. You can adjust the size of the hole, smaller or larger, to fit your fingers.
The chicken has a separate red comb and a glob of red gum. Be sure to cut these out, too.
Tip: Start cutting the hole by pinching a small fold in the center and cutting across it. This will make an opening for your scissors. You can also start the hole cut by using a hole punch.

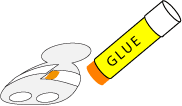
Place the puppet face-side-down on your work surface. Gently bend the paper strip into a loop. Use glue or tape to fasten the loop. The loop adds shape and strength to the puppet's body.
Tip: The loop can be omitted if the puppet is made with cardstock.
Tip: Attach the red comb to the top of the chicken's head with tacky putty or repositionable/removable tape. If you do not plan to perform the play, glue the comb in place.

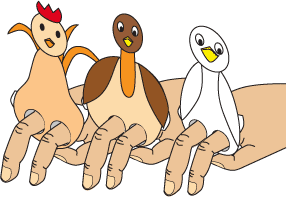
To use the chicken, crow, and emu puppets, slip your index and middle fingers through the leg holes. Now make your puppet walk by moving your fingers.
Think of what your puppets will do. Where does your play take place? Write down what the puppets will say and figure out how they will move. Will more than two puppets be on stage at once? Do you need a friend to help? Rehearse your play a few times, and then perform it for family and friends.
Your puppets are done! Now it's
play time!
