The biggest problem that people new to rubber stamping experience is not being able to get a clear image. With a little instruction and a few tips, you'll be able to produce good images after just a little practice.
The quality of your rubber stamps and working clean are the keys to getting clear, clean and sharp images. While there are many products sold to help you with this, all you really need is some scrap paper, damp paper towels, and a bit of practice. Read on for more details.
Wood- or acrylic-mounted stamps are the easiest to handle and give consistently clear images time after time. Foam-mounted stamps are less expensive, but images are easily blurred.

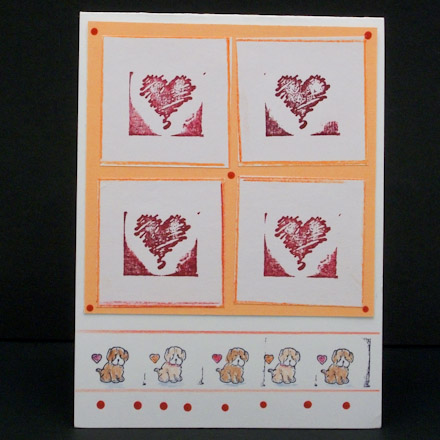
The heart stamp used on this card is foam-mounted. The corners below the hearts are the result of pressing the corners of this flexible stamp. Many people find these marks to be a charming part of rubber stamping, but others find them objectionable.
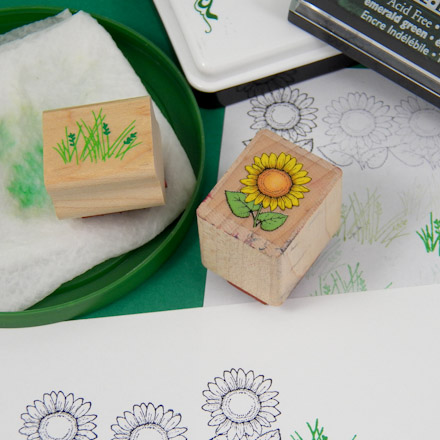
A stamp can be inked by either pressing it into a stamp pad or by dabbing the stamp pad on a stamp that is face-up on the table. Test the stamp once or twice on scrap paper.

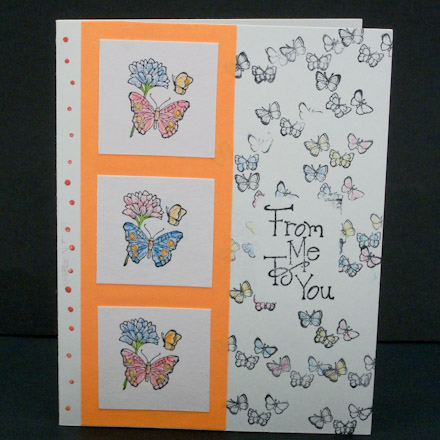
Notice that some of the small butterflies on this card are only partial images. Careful inking of the stamp would have prevented this from happening.
Stamp straight down onto the paper, press firmly and do not rock the stamp, then lift the stamp straight up. With foam stamps, press in the center and avoid the corners and edges.
On the heart card above, there are black edges next to the puppies. This was caused by rocking the stamp. In this case, I find that the black edges actually add to the card design. Sometimes it is best to embrace the peculiarities of a stamp.
After each use, stamp out the stamp: that is, make repeated stampings on scrap paper until no mark is visible. When you switch stamp pad colors, stamp on a folded damp paper towel to remove the last traces of the previous color, and then stamp out the stamp.
Keep in mind: If you are frustrated with the quality of your stamped images, keep in mind that most people won’t notice the imperfections unless they are pointed out. The most important thing is that the overall design of the card is pleasing and conveys the message intended.