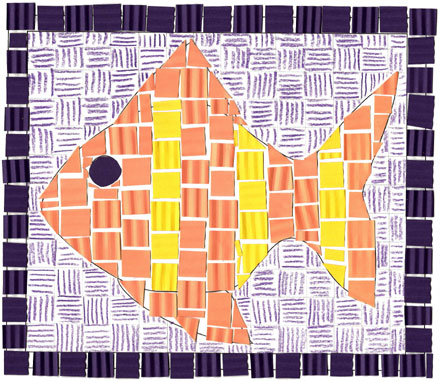
Learn how to make paper mosaics to decorate crafts and give as gifts, while recycling paper scraps from other projects. As an introduction to mosaics, this project takes you through the steps of making a paper mosaic plaque. The finished plaque can be hung on the wall, with or without a frame. Make a mosaic of your own design, or base one on a favorite image or photograph. Moms will enjoy receiving a mosaic for Mother's Day! Once you learn this decorative technique, use your creativity to apply it to other purposes and crafts.
This project is great for family, classroom or group craft time. It requires no patterns and uses simple materials. With a little preparation by the adult or teen leader, this project is easy and fun for children.
Cut white cardstock or white construction paper as mosaic bases. Squares of 8" to 9" or rectangles 9" by 12" work well. Pre-cut strips of colored paper in 1" and ½" widths. The children will cut the strips to make square, rectangle and triangle pieces.
Create a design for your mosaic on a piece of scratch paper. When creating a design, it is important to make it strong, clear and simple—flowers, birds, fish, and fruit work well. Remember that the empty spaces of a design are just as important as the drawn objects. Sketch your design to size on the mosaic base of white cardstock or white construction paper.
Sort through the precut paper strips, selecting colors that fit with your design and make pleasing color combinations. Cut tiles from the paper strips in squares, rectangles, triangles, and diamonds, as needed.
Glue the tiles to the paper to fill in the design. Place the tiles close together with white showing between the tiles like grout. It's best to work in small areas. Apply glue with a glue stick to a small area of the paper and then carefully place the paper tiles.
The mosaic can be used as is, or you may want to seal it, frame it, and/or mount it. For an easy frame, glue it to a larger sheet of colored construction paper. You could sandwich the mosaic between two sheets of clear Contac paper—cut the sheets 1" larger than the mosaic to create a ½" border. The mosaic could also be sealed with one or two coats of acrylic sealer (Mod Podge) and mounted on a board.
That's it! How will you display
your masterpiece?
