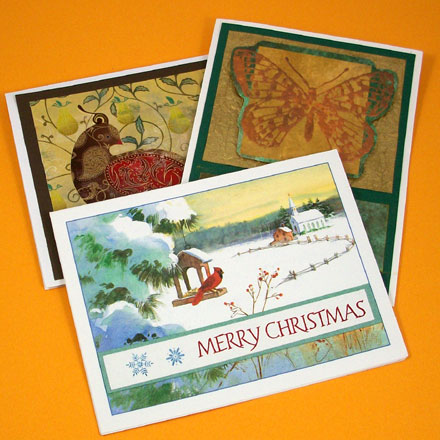
In this tutorial, learn how to make new greeting cards by recycling old cards. This tutorial features a variety of techniques making it easy to create a card that you'll be proud to send. Making recycled cards is a terrific group activity and is fun for crafters of all ages.
This greeting card tutorial builds on previous tutorials, especially #2: Matted Clip-Art Cards. If you are new to card-making, please review that tutorial before starting this one.
Refer to Tutorial #1: Four Patch Cards to learn how to make card blanks and envelopes.
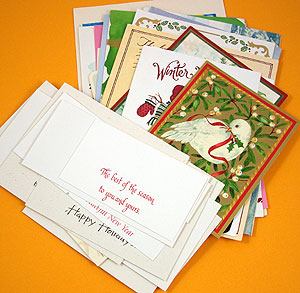
It's nice to keep a selection of old cards on hand for card-making. Being sure to remove any personal messages or signatures, cut the card fronts from the old cards and snip out any verses. Keep the old card parts in plastic zipper bags for easy access.
From your stash of old cards, select a card front as a base for a new card. Keep in mind who will receive the card and the occasion when making your choice. Make a card blank by cutting letter-size (A4) cardstock in half, then folding it to make a quarter-page card blank, or fold letter-size (A4) cardstock in half to make a half-page card blank. See Tutorial #1: Four Patch Cards for more details on card blank and envelope making.
Read through the card recycling techniques and select one to use.
Find paper to use for mats and punches that match the card's front. For tips on selecting mats, see the previous tutorial #2: Matted Clip-Art Cards. Depending on the card recycling technique you choose, gather your paper punches, coordinating rubber stamps, stencils or decorative scissors, along with the appropriate supplies for each.
Using one of the techniques below, use the recycled card parts to make a new greeting card.
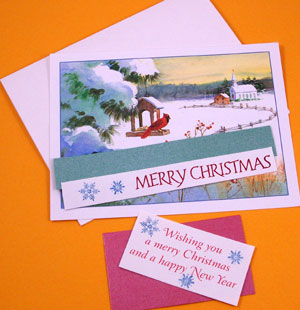 This is the simplest technique
to make new cards from recycled card
fronts. Just cut the card front to the exact size of the new
card, glue in place, and decorate with message strips, paper
punches or rubberstamps.
Materials: White cardstock for message strip, colored cardstock for mats and rubberstamps
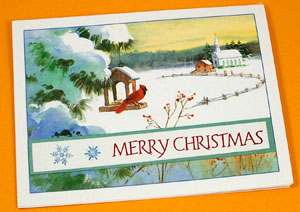
In this example, a matted message strip is glued to the card front and a matted verse is glued inside the new card. The message strip is 5/8" by 4 7/8", with a green mat that is about 1/8" larger in both dimensions. The strip is stamped with "MERRY CHRISTMAS" in red, and decorated with small snowflakes stamped in blue. The matted strip is glued on the card front, near the bottom, in a place that doesn't obscure key elements of the card's image.
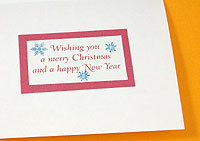 The inside verse is matted in red, and decorated with the same
snowflake stamps used on the message strip.
Tip: Your card will have a more polished look if the inside elements include colors and images that coordinate with the card's front.
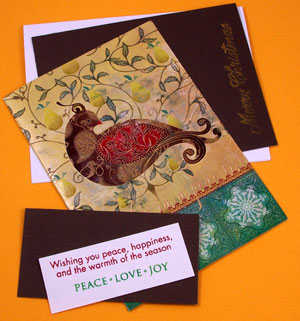 In
this technique for making cards from recycled card
fronts, the card front is cut down and matted. Just trim the card
front into a rectangular or square shape smaller than the card,
cut a mat, glue the card front in place, and decorate.
Materials: Colored cardstock for mat and rubber stamps
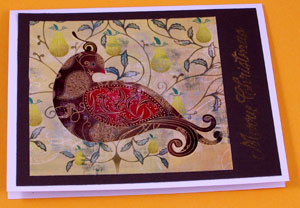
In this example, the bird is cut from the card front in a 3½" by 4" rectangle. A 4" by 5¼" mat is cut from brown cardstock. The brown mat is stamped on the right side with "Merry Christmas" in gold. The bird is glued to the mat, and the mat is glued to the card.
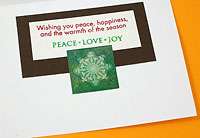 The inside verse is stamped in red and green, matted in the same brown
used on the front, and decorated with
a cutout from the recycled card front.
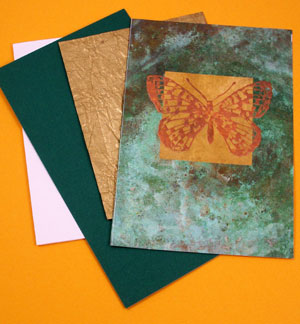 This technique
uses motifs that have been closely trimmed. In quilting, this is
known as a fussy-cut. Fussy-cut an image or images from
a card front, arrange on the card along with mats or strips of
cardstock, glue in place, and decorate as desired.
Materials: Colored cardstock or foil for mats, rubber stamps, and metallic pens
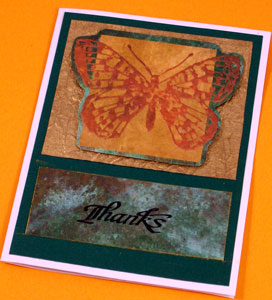
In this example, a butterfly on a gold square is fussy-cut from the recycled card front, along with a 3½" by 1¼" rectangle in mottled green. The mottled green rectangle is stamped with "Thanks" in black and edged with gold ink. A 4" by 5¼" mat is cut from green cardstock, and a 3½" square mat is cut from gold foil paper. The gold square and mottled green rectangle are glued to the green mat and the mat then glued to the card. The fussy-cut butterfly is attached to the card with foam tape to give a 3-D look.
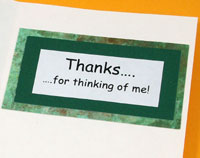 Inside
the card, a printed verse is double-matted with the same green
cardstock
used on the front and a mottled green rectangle cut from the
recycled card front.
 In
this technique, words or verses from recycled cards are featured
on the new card. Cut words or messages from a card in a round or
oval shape, then cut a slightly larger mat from colored cardstock,
glue in place and decorate.
Materials: Colored cardstock for mats, scraps of cardstock for punches and/or paper cuts, and markers.

In this example, orange cardstock is used for the card blank. Words with a white daisy are cut from the card front in a 3¼" by 4" oval shape. Another oval that is ½" larger in both dimensions is cut from red cardstock. The message oval is glued to the red mat, and the red mat is glued to the card. Daisies punched from white cardstock, flower centers punched from yellow cardstock, and leaves cut from green cardstock are glued to the card. Flower stems are drawn with a gold marker, along with a circle of little dots in each flower's center.
Add a message to the inside of your card using a verse cut from an old card matted in a color-coordinated paper or cardstock. You might also use cutouts from old cards to decorate the inside.
That's it! Your recycled cards are
ready to send!
