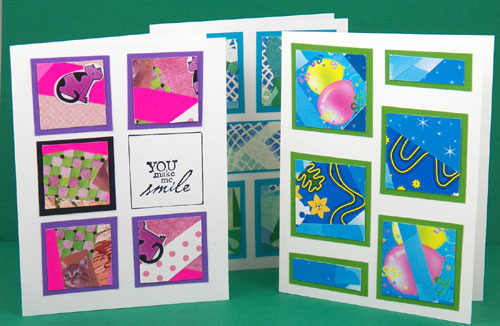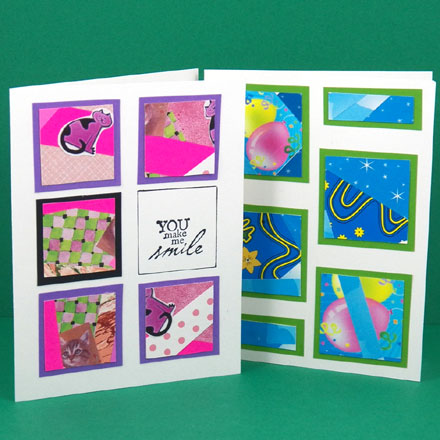
In this greeting card tutorial learn how to use leftover scraps of paper and cardstock to make colorful serendipity squares that can be combined in various ways to make beautiful cards. The squares get the name "serendipity" because they are happy accidents: that is, they are assembled and cut into squares in a largely unplanned way, and the results are always a surprise.
Once you learn how to make serendipity squares, you'll never need to throw away those small scraps of paper again!
![]() For
Valentine's Day, make serendipity squares using red or pink scraps,
heart punches and rubberstamps. See card ideas above and in the
Tips section.
For
Valentine's Day, make serendipity squares using red or pink scraps,
heart punches and rubberstamps. See card ideas above and in the
Tips section.
Related craft: The kids can get in on the serendipity fun! See the Kids' Serendipity Squares craft for some ideas to spark creativity.
This greeting card tutorial builds on the previous tutorials, especially #1: Four Patch Cards and #2: Matted Clip-art and Photo Cards. If you are new to card-making, review these tutorials before starting this one.
Refer to Tutorial #1: Four Patch Cards for how to make card blanks and envelopes.
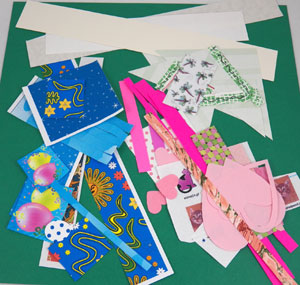
Sort your scraps of paper and cardstock by color. You might make a stack of blues that include bits of green and yellow, or stick to a primary color and white. If you have a specific idea for the card you are making, keep that in mind as you sort the scraps. For color combination ideas, refer to the color wheel concepts in the Paper Weaving Card tutorial.
Tips: You don't need many scraps to make enough serendipity squares for a card. It just takes enough to cover a strip of cardstock that is 1¼" to 1½" wide by 8" or so long. For an aid in cutting cardstock strips, see the Project Extra in Step 3.
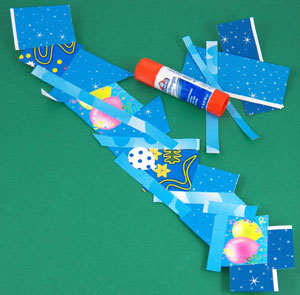
Glue the selected scraps to the white cardstock strip. Use a generous amount of glue as you glue the scraps in random ways—don't think about it too much, just have fun. Let the scraps extend beyond the edges of the strip. Continue gluing scraps until the strip is covered. Be sure all the scraps are firmly adhered.
Tip: Cut larger scraps into smaller pieces, or glue them as a background.
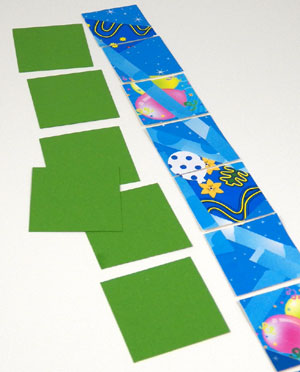
Once the glue is dry, flip the strip over and trim away all of the paper scraps that extend beyond the edges of the cardstock strip.
Cut the strip into squares. For the biggest surprise, cut the squares with the cardstock strip face-down. Flip the squares over. Check the corners for any loose paper and apply glue as needed.
Project extra: As an aid in cutting squares, download and print either the 1¼" or 1½" grid pattern on white cardstock. Cut the cardstock into strips using either the vertical or horizontal lines. With the grid side down, glue paper scraps to the blank side. Use the grid lines to cut the strip into squares.
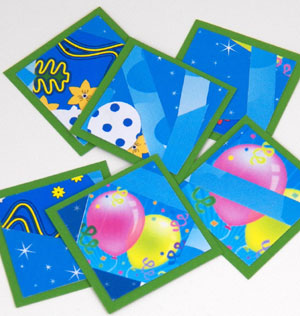
The final step in creating the serendipity squares is to mat the squares by gluing them to slightly larger squares of coordinating cardstock. For 1¼" squares, cut 1½" mats, and for 1½" squares, cut 1¾" mats. Glue the squares to the mats.
Select a mat color that reflects a color in the squares or use a contrasting color. For color combination ideas, refer to the color wheel concepts in the Paper Weaving Card tutorial.
Take four to six serendipity squares and arrange them on a card front. If you like, glue a 4" by 5¼" mat to the card front first. Once you are happy with the arrangement, glue the serendipity squares in place.
Get creative: Mix the serendipity squares with stamped images on your card front. Or make rectangular serendipity shapes to mix things up! Keep a supply of serendipity squares on hand to decorate scrapbook pages, make into gift tags or enhance any of your paper crafts.
That's it! Your card is done!
